Table of Contents
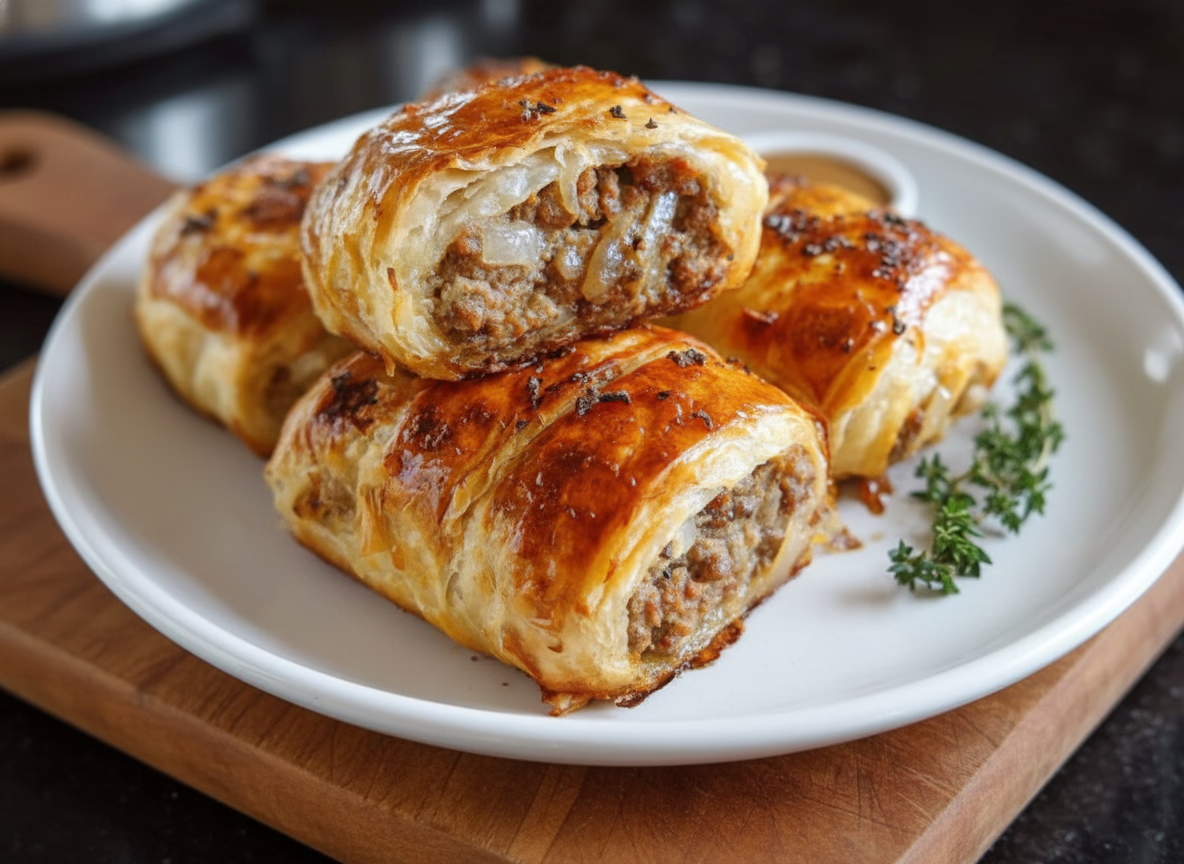
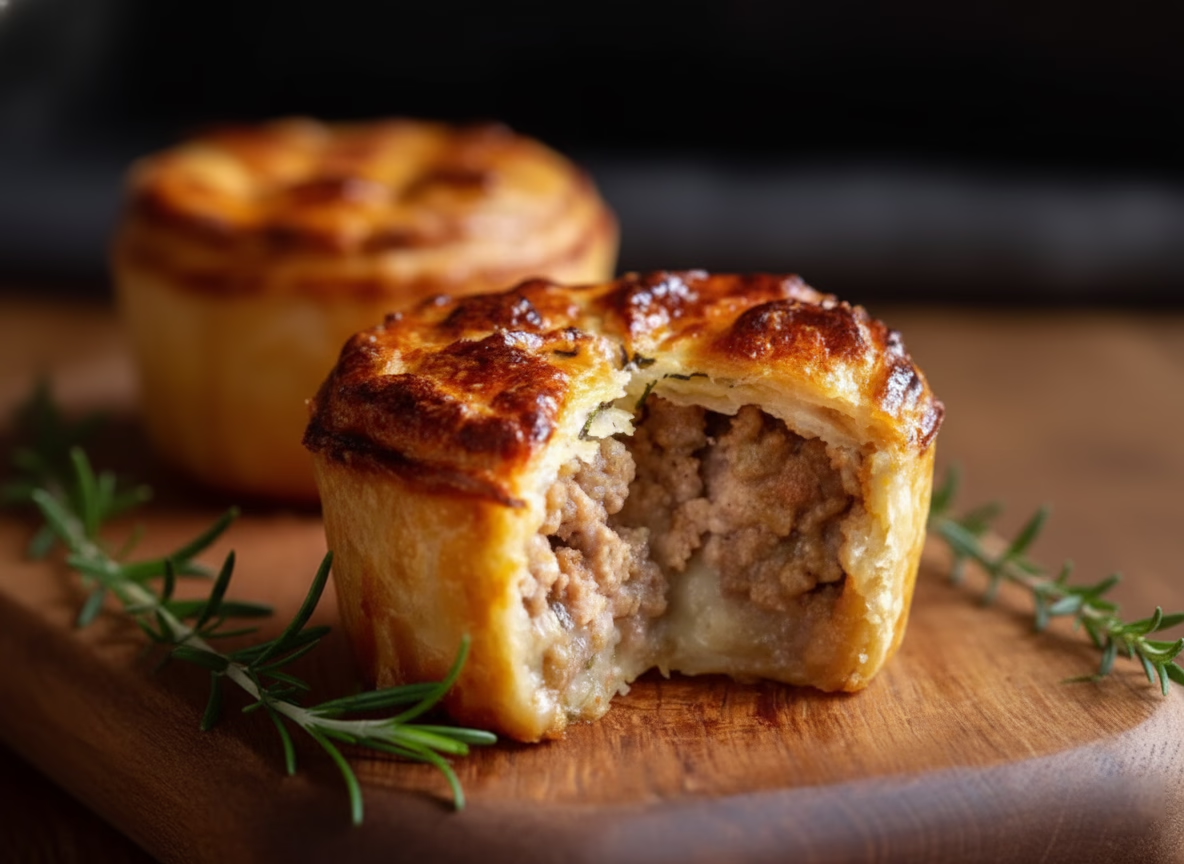
Hello, friends! Today, I’m bubbling over with excitement to share a recipe that’s an absolute game-changer for busy weeknights, lunchboxes, or cozy family dinners: Muffin Tin Meat Pies. Imagine all the savory, comforting goodness of a classic meat pie, but perfectly portioned into adorable, handheld packages. These little pies are a guaranteed crowd-pleaser, combining a rich, flavorful beef and vegetable filling with a golden, flaky crust. They’re surprisingly simple to make, and the best part? They freeze like a dream, making your future self very, very happy. Let’s roll up our sleeves and bake up some happiness!
Why You’ll Love This Muffin Tin Meat Pies Recipe
Perfectly Portioned Comfort Food:
These mini meat pies deliver all the soul-warming satisfaction of a traditional pie without the fuss of slicing and serving. Everyone gets their own perfectly golden, flaky-crusted pie, packed with a hearty, savory filling. They’re fun to eat and eliminate any portion-guessing games!
A Weeknight Dinner Hero:
From skillet to table in under an hour, this recipe is a lifesaver on hectic evenings. Using a muffin tin and pre-made pie crust streamlines the process, and the filling comes together in one pan. It’s the kind of wholesome, homemade meal that feels special but is totally achievable any night of the week.
Incredibly Freezer-Friendly:
This is perhaps the biggest win! You can bake a double batch and freeze the extras for instant future meals. Simply pop a frozen meat pie into the oven or air fryer, and in minutes, you have a hot, homemade lunch or dinner. It’s like having your own personal stash of gourmet frozen snacks.
Ingredients for Muffin Tin Meat Pies
Ground Beef:
The star of our savory filling! I recommend an 80/20 blend for the best flavor and moisture, but lean beef works great too. It provides the hearty, protein-rich base that makes these pies so satisfying.
Finely Diced Onion:
This aromatic vegetable is the foundation of flavor. Cooking it until softened sweetens it and removes any harsh bite, creating a delicious background note for the entire filling.
Frozen Mixed Vegetables (Peas, Carrots, Corn):
A colorful, nutritious, and convenient shortcut! Frozen veggies are pre-chopped and retain their nutrients beautifully. They add sweetness, texture, and make the filling more complete and vibrant.
Minced Garlic:
A non-negotiable flavor booster! Just 30 seconds in the pan unlocks its aromatic magic, infusing the beef and onions with a deep, savory essence that makes the kitchen smell incredible.
Tomato Paste:
This concentrated powerhouse adds a rich, umami depth and a touch of sweetness to the filling. It helps create a robust sauce that clings perfectly to the meat and vegetables.
Beef Broth:
This liquid gold dissolves all the tasty browned bits from the pan (that’s flavor!) and creates the saucy base for our filling. It enhances the meaty taste without making the mixture too wet.
Worcestershire Sauce:
The secret ingredient! This complex, tangy sauce adds a savory, slightly sweet, and umami-packed punch that elevates the ground beef from simple to spectacular.
Salt, Black Pepper, Paprika, & Dried Thyme:
Our simple but effective seasoning squad. Salt enhances all flavors, pepper adds heat, paprika gives a subtle smokiness, and dried thyme brings an earthy, herbal note that pairs perfectly with beef.
Olive Oil:
Used to sauté our onions and garlic, preventing them from sticking and helping them cook evenly and become beautifully fragrant.
Cornstarch Mixed with Water (Slurry):
Our thickening agent! This simple mix is stirred in at the end to transform the juicy filling into a luscious, gravy-like consistency that won’t make the pie crust soggy.
Refrigerated Pie Crusts:
The ultimate time-saver for a flaky, buttery crust. Of course, homemade is wonderful, but having this ready-to-go option makes these pies a realistic weeknight project. You’ll need two standard crusts.
Beaten Egg (for Egg Wash):
A little bakery secret! Brushing the pie tops with beaten egg gives them that gorgeous, professional-looking golden brown shine and a slightly crisp finish.
(Note: The full list of ingredients with quantities is provided in the recipe card just below.)
Variations
Swap the Protein:
Ground beef is classic, but feel free to use ground turkey, chicken, pork, or even a plant-based ground “meat” alternative. For turkey or chicken, consider using chicken broth instead of beef for a flavor match.
Cheesy Twist:
Who doesn’t love cheese? Stir a half cup of shredded sharp cheddar or mozzarella into the cooled filling before assembling. You can also sprinkle a little extra on top of the filling before adding the pastry lid.
Gluten-Free Adaptation:
You can easily make these gluten-free! Use your favorite store-bought gluten-free pie crusts or a homemade version. Also, double-check that your Worcestershire sauce and beef broth are certified gluten-free.
How to Prepare Muffin Tin Meat Pies

Step 1:
Preheat your oven to 375°F (190°C). This ensures it’s perfectly hot and ready when your pies are assembled. Lightly grease all 12 cups of a standard muffin tin with butter or non-stick spray. This is crucial for easy removal later!
Step 2:
Heat the olive oil in a large skillet over medium heat. Add the diced onion and cook, stirring occasionally, for 2-3 minutes until it becomes soft and translucent. Stir in the minced garlic and cook for just 30 more seconds until fragrant—be careful not to let it burn!
Step 3:
Add the ground beef to the skillet with the onions and garlic. Use your spoon to break it up into small crumbles. Cook until it’s no longer pink and nicely browned. If there’s a lot of excess grease, you can carefully drain it off.
Step 4:
Now, for the flavor! Stir in the tomato paste, Worcestershire sauce, beef broth, salt, pepper, paprika, and dried thyme. Mix everything together until well combined. Bring the mixture to a gentle simmer.
Step 5:
Add the frozen mixed vegetables and stir. Let them heat through for a minute or two. Then, give your cornstarch and water slurry a quick stir (it separates) and pour it into the skillet. Cook for 1-2 minutes, stirring constantly, until the filling thickens noticeably. Remove from heat and let it cool slightly while you prepare the crust.
Step 6:
On a lightly floured surface, roll out your pie crusts slightly to smooth them. Using a round cutter or even a large drinking glass (about 4 inches in diameter), cut out 12 circles. Gently press each circle into a greased muffin cup, ensuring it goes up the sides.
Step 7:
Spoon the slightly cooled meat filling evenly into each crust-lined cup. Don’t overfill—aim for just below the top of the crust.
Step 8:
Cut out 12 slightly smaller circles (about 3 inches) from the remaining pastry for the lids. Place a lid over each filled cup. Use a fork to press and crimp the edges of the top and bottom crusts together to seal them. Use a sharp knife to cut a small slit or “X” in the top of each pie to allow steam to escape during baking.
Step 9:
Beat one egg in a small bowl with a fork. Using a pastry brush, gently brush the top of each pie with the beaten egg. This will give them that beautiful golden color.
Step 10:
Bake in your preheated oven for 22-25 minutes, or until the pastry is deeply golden brown and crisp. Let the pies cool in the tin for a full 5 minutes—this lets them set and makes them much easier to remove. Then, run a small knife around the edges and carefully lift them out. Serve warm and enjoy!
Tips and Tricks
Let the Filling Cool Slightly:
Adding piping hot filling into the raw pastry can start to melt the butter in the crust, leading to a soggy bottom. Letting it cool for 10-15 minutes makes assembly easier and ensures a flakier result.
Re-roll Your Scrap Pastry:
Don’t waste those pastry scraps after cutting your circles! Gently gather them, press them together, re-roll, and you can cut more circles. You might get a few extra tops or bottoms this way.
Use a Jar Lid as a Cutter:
No fancy pastry cutter? No problem! A wide-mouth mason jar lid or a large glass is the perfect tool for cutting consistent, round pastry circles for your muffin tin.
How to Serve
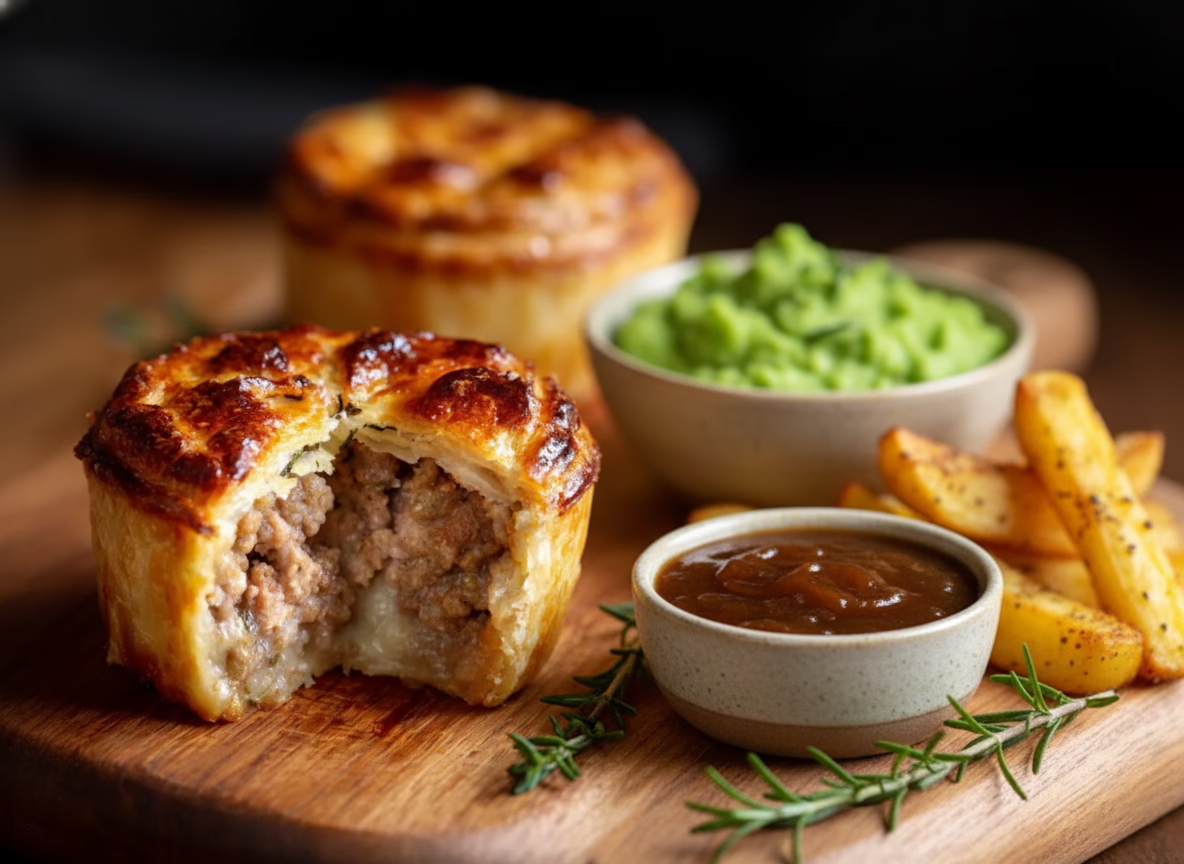
With a Simple Garden Salad:
Balance the richness of the pies with a light, fresh side. A simple green salad with a tangy vinaigrette is the perfect complement, adding a crisp texture and brightness to the meal.
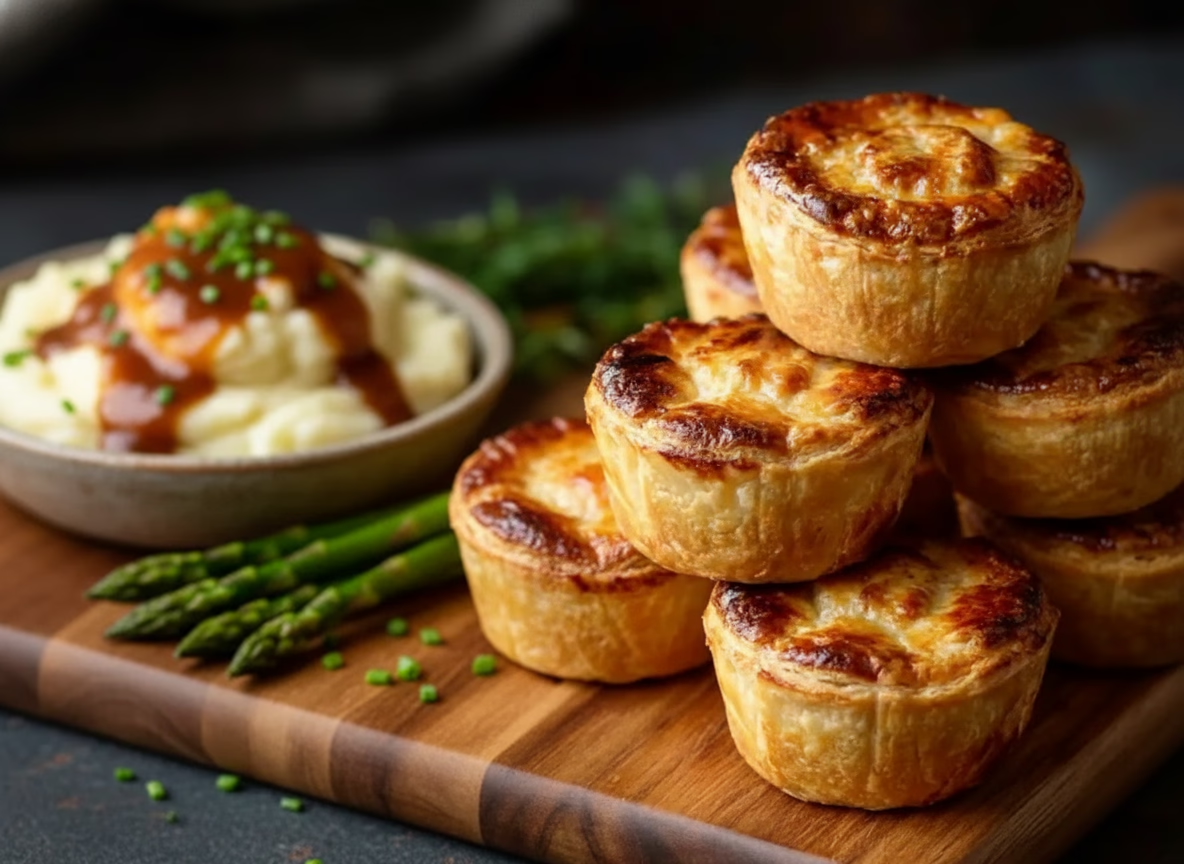
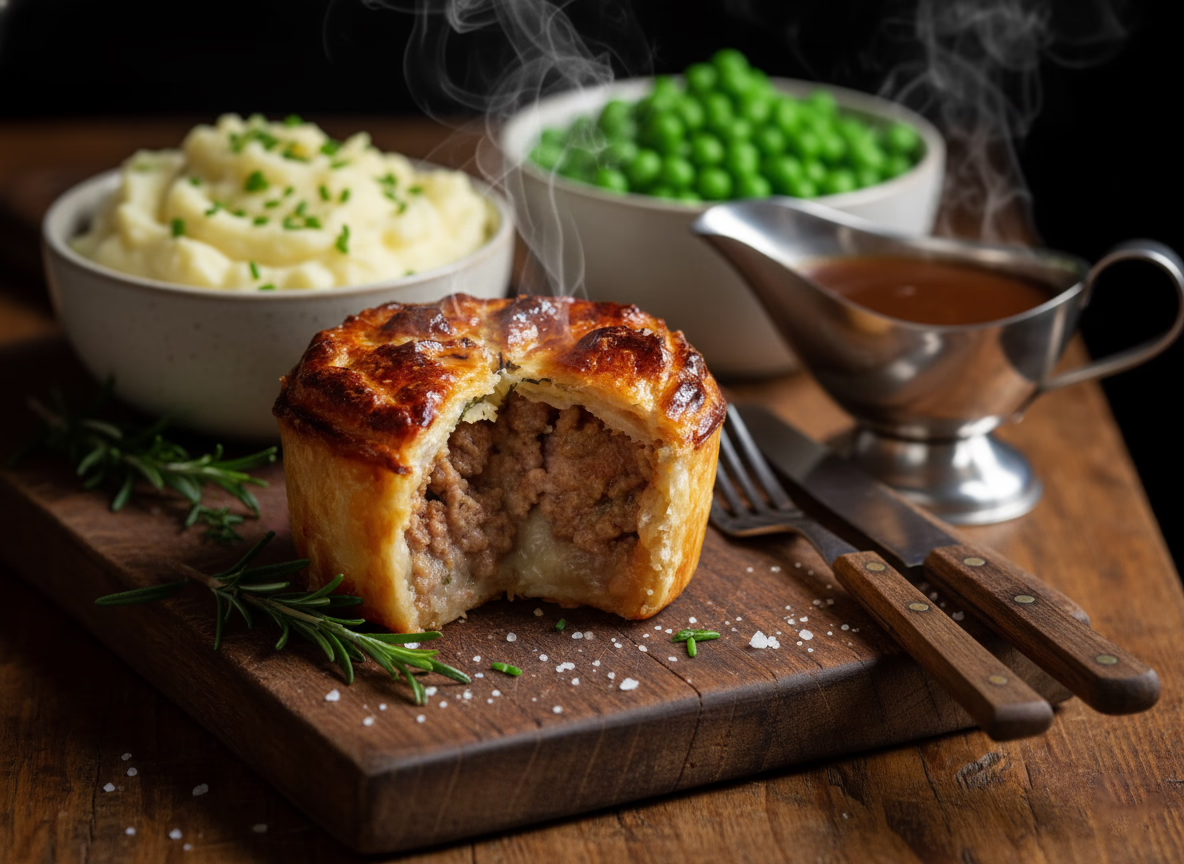
Dipped in Ketchup or Gravy:
Embrace the classic pairing! Serve these mini pies with small bowls of ketchup for the kids (and kids-at-heart) or a rich beef gravy for a more indulgent, comforting experience.
As a Packed Lunch Star:
Let these pies cool completely, then pack them in a lunchbox. They taste fantastic at room temperature and are a far more exciting and wholesome alternative to a standard sandwich.
Make-Ahead and Storage
Freeze Before Baking:
For the ultimate convenience, assemble the pies completely but do not brush with egg wash. Place the entire muffin tin in the freezer until the pies are solid (about 2 hours), then transfer them to a freezer bag. When ready to bake, place frozen pies in a greased tin, brush with egg wash, and bake at 375°F for 30-35 minutes.
Refrigerate for Up to 3 Days:
You can store baked and cooled pies in an airtight container in the refrigerator for up to 3 days. Reheat in a 350°F oven or air fryer for about 10 minutes to re-crisp the pastry.
Freeze Baked Pies for 2-3 Months:
Baked pies freeze beautifully! Let them cool completely, then store in a single layer in a freezer-safe container or bag. Reheat from frozen in a 375°F oven or air fryer for 12-15 minutes until hot throughout.
FAQ
1. Can I make these without a muffin tin?
While a muffin tin gives the perfect shape, you can make larger, free-form hand pies. Roll the crust, place filling on one half, fold over, seal edges with a fork, and bake on a parchment-lined sheet pan.
2. My filling is too runny. What happened?
This usually means the cornstarch slurry wasn’t cooked long enough to activate, or the filling needed to simmer a bit more to reduce. You can thicken it by cooking it a few minutes longer off the heat, or add another teaspoon of cornstarch mixed with water.
3. Can I use fresh vegetables instead of frozen?
Absolutely! Dice carrots and other hard veggies small and sauté them with the onions until tender before adding the beef. Add fresh peas or corn towards the end of the beef cooking time.
I hope these delightful little Muffin Tin Meat Pies become a new favorite in your home kitchen. They’re proof that big, comforting flavors can come in the most charming, convenient packages. Happy baking!
Print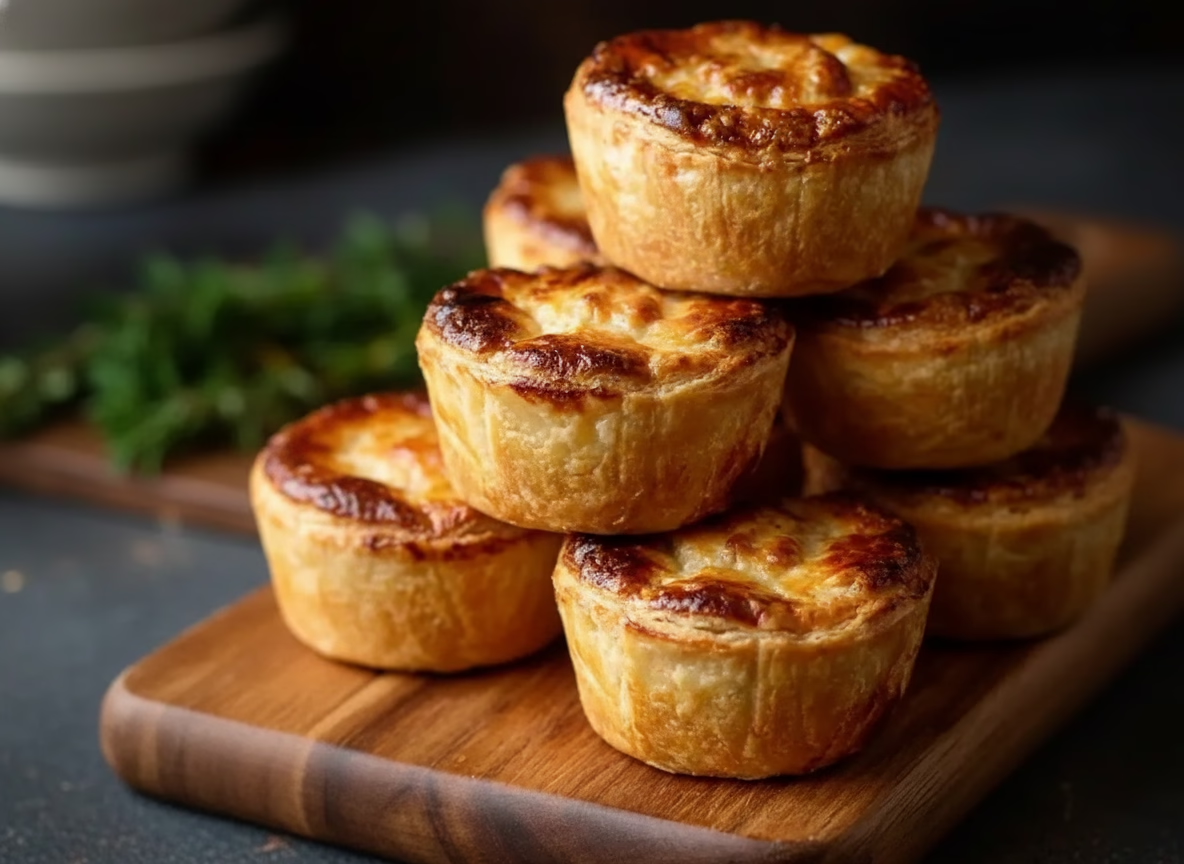
Muffin Tin Meat Pies
- Prep Time: 25 minutes
- Cook Time: 25 minutes
- Total Time: 50 minutes
- Yield: 12 pies 1x
- Category: Main Course
- Method: Baking
- Cuisine: American
Description
Savory, handheld mini meat pies with a flaky crust and a hearty beef & vegetable filling. Perfect for dinners, lunches, and freezing!
Ingredients
- 1 pound (450 g) ground beef
- ½ cup finely diced onion
- ½ cup frozen mixed vegetables (peas, carrots, corn)
- 2 cloves garlic, minced
- 2 tablespoons tomato paste
- ½ cup beef broth
- 1 tablespoon Worcestershire sauce
- 1 teaspoon salt
- ½ teaspoon black pepper
- ½ teaspoon paprika
- ½ teaspoon dried thyme
- 1 tablespoon olive oil
- 1 tablespoon cornstarch mixed with 1 tablespoon water
- 2 refrigerated pie crusts (or homemade)
- 1 egg, beaten (for brushing)
Instructions
- Preheat oven to 375°F (190°C). Grease a 12-cup muffin tin.
- Cook onion in oil until soft. Add garlic; cook 30 sec.
- Add beef; cook until browned. Drain excess grease.
- Stir in tomato paste, Worcestershire, broth, and seasonings. Simmer.
- Add frozen veggies. Stir in cornstarch slurry; cook until thickened. Cool slightly.
- Cut 12 large pastry circles; press into muffin cups.
- Divide filling among cups.
- Cut 12 smaller circles for tops. Seal edges and cut a steam vent.
- Brush tops with beaten egg.
- Bake 22-25 mins until golden. Cool 5 mins before removing.
Notes
Filling can be made 1 day ahead. Pies freeze beautifully before or after baking.
Keywords: muffin tin meat pies, mini meat pies, handheld pies, ground beef recipes, freezer friendly dinner, easy weeknight meal